CLICK HERE FOR FREE BLOGGER TEMPLATES, LINK BUTTONS AND MORE! »
Showing posts with label Baking. Show all posts

Wednesday, July 20, 2011

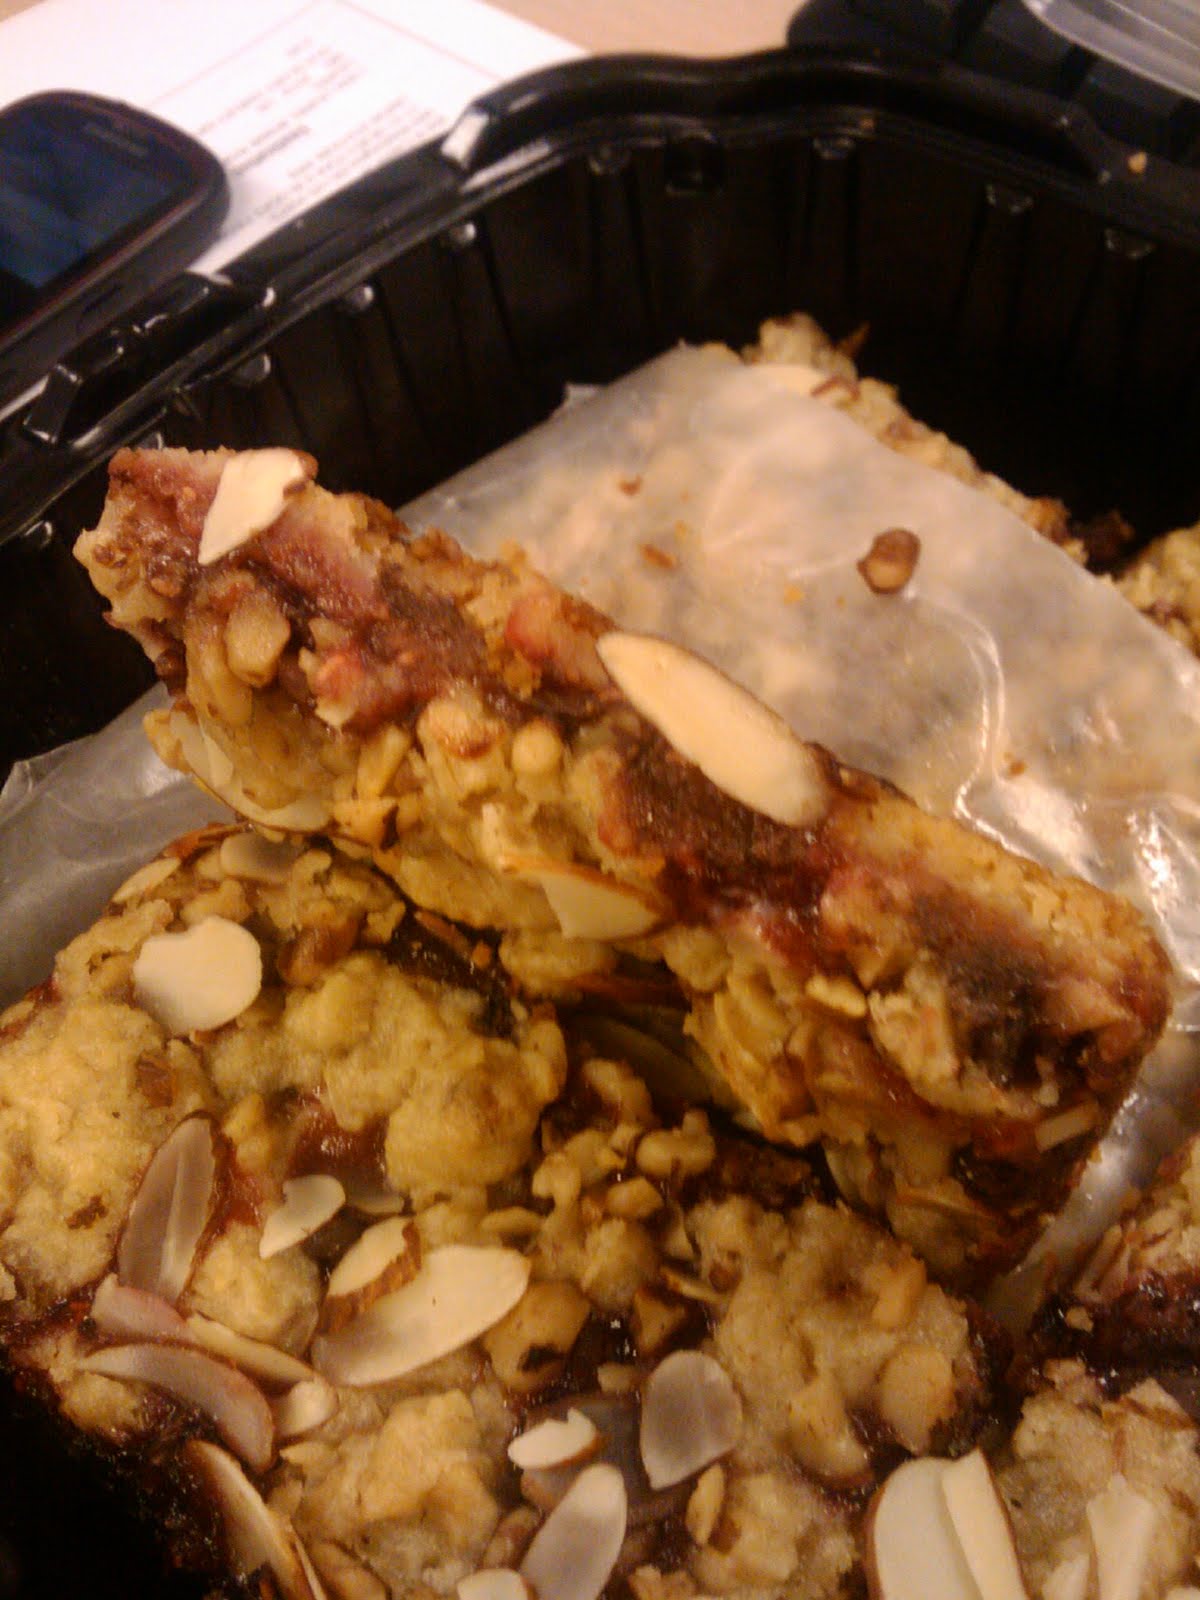
Raspberry Bar Goodness

Happy Wednesday !!
Here's a recipe I thought ya'll might like.
I made made these babies a few weeks back, with a friend for a friends birthday...
They were SOO good!! ...Like for reals...
Check the recipe out HERE from SheCooks By LeAnn Rice
I adapted it a little by adding almonds instead of the pecans. 
I had almonds on hand so I just used them.
Hope you give it try...They are amazazazazing!! :D


Yumm!!

Monday, November 29, 2010

Snickerdoodle Score!!


Three Ingredient cookies! Who could resist that?! Cheap and cheerful!
(I know there are four things in the picture below, but water really doesn't count...lol ;D)


I made some Snickerdoodle's for my Sunday school class last week. Against my better judgment I was gonna make them from scratch but then I found this baby at Publix while I was shopping….score! I’d never seen this flavor before in Betty Crocker’s store bought cookie mixes…must be something they only bring out for the holidays because it was next to some pumpkin spice cookie mix too (in a special holiday section of the store). So you can imagine I was elated to find this because I’m notorious for burning cookies. I can make anything else in the kitchen…no problem…but cookies…oh bother... I’ve never been able to conquer them. Not really sure why. I guess they’re my kryptonite in the kitchen…lol. Anyways… :D I made the cookies according to the package and to my surprise they came out awesome!!! I was ecstatic and the kids loved them. They were really surprised that I had made them…lol. (Oh little kiddies…so was I…trust me). Here are some pics of my cookie adventure. Hope you give it a try. One day I’ll be brave and make them completely from scratch, but until then…I’ll be looking to my friend Betty for a helping hand. :D


 This is how the cookies look when you scoop them out and roll them in the cinnamon and sugar before they're baked. :)


 Don't press them down. They will get flat just like these all on there own :)


Check this baby's out! Super yummy and easy peasy to make! Gotta love that! :)

Wednesday, November 24, 2010

Cheese Swirl Pumpkin Pie

Swirly Pumpkin Pie?...why yes.  It sounds lovely...

Well now that we're all in the thick of Thanksgiving prep I thought it be good to share this with y'all.  I make this baby every year....I absolutely love it. I first made it a few years back because I was looking for a little twist on regular pumpkin pie.  I've always felt that pumpkin pie needed a little more body...and the cream cheese in this baby give it just that plus it makes it so pretty too!  If your feeling adventurous or just want a little something extra in your pumpkin pie give it a whirl. You'll love it. It's a thanksgiving staple at my house. :D


Ingredients:
1 9oz (extra servings) ready made Graham cracker crust
(You can also use two regular size 6oz crusts if don't find the "extra servings" crust or you can make yours from scratch...whatevs...I like to use the store bought...it's cheap and cheerful...less mess :D)
3 8oz packages of cream cheese (softened)
1 cup sugar (divided use)
1 teaspoon of vanilla extract (use real vanilla extract..not "imitation"...yes it makes a difference)
3 large eggs 1 cup canned pumpkin (not canned pumpkin pie mix)
2 teaspoons pumpkin pie spice

Directions:
1. Make sure all your ingredients come to room temperature before mixing them.  This will prevent the filling from becoming lumpy. nobody
2. In a large bowl mix on medium speed with electric mixer the cream cheese, 3/4 cup of sugar, and the vanilla until well blended.
3. Add one egg at a time, mixing the batter in between each egg just until blended.
4. Once blended separate 1 and 1/2 cups batter and set aside in a small bowl.
5. Add to the remaining batter the canned pumpkin, 1/4 cup of sugar, and pumpkin pie spice and stir to combine ingredients.
6. Pour pumpkin mixture into crust(s) (if using two divide the batter equally among both)
7.Dollop cream cheese mixture on top of pumpkin batter in several places on pie.
8. To create the swirl effect you can use a toothpick or butter knife.  Drag the knife without disturbing the crust across the pie from left to right and right to left alternating with each line.
9. Bake for about 50-55 minutes (40-45 minutes for two regular size pies) at 325degrees Fahrenheit.  The center will be a little jiggly when you take it out of the oven.

10. Cool pie completely on a wire rack and then refrigerate for at least four hours but over night would be best. Serve with some Cool Whip ;) and enjoy your sweet creation. Happy Baking! :)


Here they are fresh out of the oven.  Ready for Thanksgiving :D

Friday, October 15, 2010

Coconut Rum cake

I made this cake for my parents 15 year anniversary.  This is super easy peasy! I usually make regular rum cake but I've been into everything coconut lately...not really sure why...strange...lol. Anyhow, the idea for this cake came from the coconut juice in the red can (see the picture).  My mom and I love to drink it.  It is super yummy.  One day while I was drinking it; I got an idea.  I thought: what if I make a coconut flavored cake and then make a rum glaze with coconut water instead of plain water! I thought it was a pretty nifty idea.  I'm pretty sure I'm not the only one who's done that but I think it turned out awesome ;0) I hope you give it a try! God bless!

Cake Ingredients
One Box of Coconut cake mix
Ingredients needed to bake cake
(See back of box)
Coconut flakes (Optional)

Glaze Ingredients
1 Cup of Sugar
Two cans of Coconut Juice (about 8oz each)
1/4 Cup of Rum


1) Bake the cake according to the directions on the back of the box.  You can bake it in whatever shape pan you'd like.  When making rum cake I like to use a bunt pan, just because I think it looks pretty.  Once you've mixed up all your cake ingredients and have popped it in the oven to bake; it's time to make the glaze. 


This is what your juice looks
like before it reduces down
 2) The glaze is very simple to make.  But you must be very careful while making it because sugar burns are very painful.  So the ration I use is 2:1.  For every two cups of water I use one cup of sugar.  The amounts on the ingredient list for the glaze are enough to make one batch of glaze.  It can be doubled very easily, as long as you remember to use the 2:1 ratio. 


It should look like this when
it's reduced by half, and 
the juice is more like the
consistency of syrup

3) To make the glaze just pop open the juice cans and pour into a deep quart size pan. (recycle the cans!) Then pour in your sugar and stir until it's dissolved.  It's very important for you to dissolve it so you don't end up with a grainy glaze.  Once it's nice and dissolved put the pan on the stove and bring it to a boil.  Watch it the whole time! Sugar heats up very quickly and burns extremely easily! As soon as it comes to a boil reduce the heat to medium low.  Let it simmer and do it's thang and reduce by half.  Once you knock back the heat you don't have to watch the pot the whole time but don't forget it! It can take up to twenty minutes for the mixture to reduce by half, sometimes less.  Just keep half an eye on it.  Once your mixture has reduced by half.  Turn off the heat and move the pot away from your stove onto a trivet or kitchen towel.  Carefully pour in the quarter cup of rum.  It will make a funny sound as the cool  rum makes contact with the hot glaze.  Don't get scared.  This sound is completely normal. :)

4) Once your cake comes out of the oven let it cool in the pan for a few minutes until it's cool enough to handle.  Once the cake has cooled; flip it over on to a plate or cake dish (whatever you're going to serve it from).  Now you need to poke the cake with a toothpick to make little holes for the glaze to saturate the cake.  Be gentle with it.  You should always treat cake like a lady ;)   Once you get your cake nice and holey; spoon the glaze over the cake until all the glaze has covered the cake. You can then use the coconut flakes to decorate the cake however you'd like. :) 


5) Now you can dig in and enjoy this baby warm or at room temperature; whichever you would prefer.  
Happy Baking! :D


YUM! YUM! YUM!


Thursday, October 7, 2010

Pumpkin Cream Cheese Muffins

These babies are just in time for fall!  All the cool crisp air reminds me the holidays are just around the corner! My favorite time of year! :) I made these the other day when I went to my friends house for dinner.  Neither of us had ever made them before so we bought the ingredients and hoped for the best.  She found the recipe and asked me to take care of dessert while she cooked dinner for us (fettuccine Alfredo...Yum-O!...I have to ask her for the recipe to post it up!).  It was so cute baking with her two sweet girls.  Her youngest (She's three) was so excited about being able to bake that she could hardly contain herself.  She kept asking me what she was going to do next.  She would then squeal with excitement as soon as I told her...lol. At one point she even said ''My mom's going to be so pwoud!"...too cute! Dinner was great, and the muffins turned out delish.  We omitted the cardamom because our market didn't carry it.  We didn't even notice it was missing and we used walnuts since our store didn't have pumpkin seeds; but any nuts work well. You could even enjoy them with caramel machiatos like us if you want! Enjoy!

Almost-Like-Starbucks Pumpkin Cream Cheese Muffins
Courtesy of: Musings Of A Mommy

They are very close to the kind you can buy at Starbucks.  She took a recipe for pumpkin bread, added lots more spices and the cream cheese, and here you go. They are wonderful hot, but be very careful of the cream cheese - it gets very very hot and you could burn yourself. That would totally ruin your experience.

Almost-Like-Starbucks Pumpkin Cream Cheese Muffins
3 cups flour
1 tsp cinnamon
1 tsp nutmeg
1 tsp ground cloves
4 tsp pumpkin pie spice
Pinch of cardamom (optional)
1 tsp salt
1 tsp soda
4 eggs
2 cups sugar
2 cups cooked or canned pumpkin
1 ¼ cups vegetable oil
8 oz package cream cheese*
Chopped nuts** (walnuts, pecans) (optional)


Preheat oven to 350. Mix ingredients together except cream cheese and nuts. Fill muffin tins (greased or paper cups) half full. Put 1-2 tsp cream cheese in the middle, pressing down. Sprinkle with 1 tsp chopped nuts. Bake at 350 for 20-25 minutes, until a toothpick comes out clean from the muffin part (do not touch the cream cheese!). Let cool in pans for 5 minutes, then remove to racks to cool completely. Do not touch the cream cheese until it cools, as it is very very hot. Makes 24 muffins.

*The best cream cheese to use is the cheesecake flavored kind. Put the entire tub or brick on a piece of aluminum foil, or wax and shape it into a long log (about as thick as a quarter). Put it in the freezer while you mix and fill the pans, up to an hour. Unwrap and cut with a sharp knife. If the disks are too big around, cut thick slices and then cut them in half. This keeps the cream cheese in one big lump, and also lets you push it down into the batter.

**Starbucks uses chopped pumpkin seeds, which are very good if you can find them.

******************************************************************************
Update: We used "Honey Nut" cream cheese from Philadelphia Brand cream cheese.  We did not add any sugar to the cream cheese but you can add a little if you would like it to be a little sweeter and taste more like cheese cake.  Happy Baking! :) 

Saturday, August 21, 2010

Salted Caramel Cupcakes, Oh My!

Foodie Fix: Salty.Sweet.Cupcakes.

When I first heard of these.  I was like ''what?" salty and sweet in a cupcake sounds crazy.  Usually we hear that about some crazy good entree like honey garlic chicken (Yum-O!); but in a dessert? Never.  So naturally, I had to give these babies a try and let me tell you.  I'm a believer! These are sooo GOOD!


Ingredients you'll need:

One box chocolate cake mix
Eggs
Oil
Salt
Heath Candy Bars
Caramel Ice Cream Topping
Vanilla Bean Butter Cream Frosting (Recipe Below)
Squeeze Bottle


Bake your cupcakes according to the directions on the box. Easy peasy :)
If you're feeling extra homemakerish (yeah I made that up..lol)You can make your own caramel or you can go the shorter route and just salt up some store bought caramel like me.  I won't tell. I promise, so no worries ;) 


For every eight ounces of caramel add 1/2 a teaspoon of salt.  Warm in the microwave for one minute.  Stir when done.  Pour the now warm salted caramel into a squeeze bottle.  As soon as the cupcakes come out of the oven; inject caramel into each one. (Just ignore the hot mess that is my nail polish)


While the cupcakes are cooling it's time to smash the Heath bars.  It's really easy if you use a meat mallet, a pan or maybe even a shoe...j/k on that last one.  Don't unwrap them before you break them up...you will end up with a hot mess if you do. Then when they are all good and smashed, unwrap and place the pieces into a bowl.  Remember to take out any of the big unbroken pieces.  You can eat them...or not. 
Now wer're ready to frost. I've come to the conclusion that once you make you're own frosting you can become a total frosting snob.  It's really really easy and taste much better, it's worth it.  But you can use the store bought stuff...if you insist :)

Butter Cream Frosting Recipe by Gale Gand:
1 cup Unsalted Butter at Room Temp.
3 Cups of Powdered Sugar (AKA: Confectioners Sugar)
1 tsp Vanilla Extract (Use the Real stuff.  No ''imitaion'' nonsense.  It's worth it!)
1 to 2 Tbls Heavy whipping cream or milk
Pinch of Salt

Blend together sugar and butter. Mix on low speed until well blended and then increase speed to medium and beat for another 3 minutes.
Add vanilla and cream or milk and continue to beat on medium speed for 1 minute more, adding more cream or milk if needed for spreading consistency.


After your cuppy cakes have cooled off, frost them with the butter cream goodness, roll them in the Heath bar pieces, and then drizzle the salted caramel on top.  Don't these babies look amazing?!


So, like most of the time that I bake I like to bake for an occasion and this time is no exception. I made these for a friend of mine for her birthday I know she loves chocolate and caramel and cupcakes, so these are just perfect for her! And she shall remain nameless as she hasn't seen them yet!...lol. Isn't this the cutest packaging? I love it! I hope she does too!

HAPPY BAKING!!

Here's where I got my inspiration for these lovlies. Thanks a bunch Joy's Hope! :)

******************************************************************************

**Update: Ms. Mryl cakes loved them!...Smile :D

Saturday, August 14, 2010

Full On Double Rainbow!!!


Foodie Friday : Rainbow Edition! :)
Okay so maybe it's not a double rainbow but it's pretty close...lol. I made a rainbow cake. I've had this cake in the back of my mind for sometime and have been waiting for a special occasion to make it! I'm super excited to share it with you. I made it for my cousin Lucy's birthday because she reminds me of the rainbow since she's an artist (and a really awesometastic one at that!) yeah I made that word up...I'm cool like that ;).


The Birthday Girl :)

The Magical Ingredients... I just followed the directions on the box (I used two and divided the batter into six bowls), added food coloring (about a teaspoon into each bowl), and baked.


Pure Happiness :)
After you bake them you stack them rainbow style, decorate and enjoy :)  I didn't say a word.  Everyone was really suprised by the cake...smile. 


She loved her cake and we even watched the double rainbow guy on YouTube...if you haven't seen it you should.Watch It Here  it's hilarious...lol. It was a good night.  I even dreamed I was riding a flying pony that was jumping from one rainbow to another in a rainbow filled sky...lol yeah it's true.  I really did dream that..too much rainbow action for one day...lol.  I love cake..Cake could save the world..okay maybe not really but I like to think so :)